You want a mushroom cake that looks magical but is actually simple to make. This guide walks you through decorating a baked cake—no sculpting experience required.
You’ll learn an easy workflow: base finish, shaping caps, painting speckles, and adding tiny details that read whimsical from across a table.
Follow these steps and tips to get charming, consistent results with commonsense tools and fast techniques.
How to Decorate a Mushroom Cake With Easy Whimsical Details
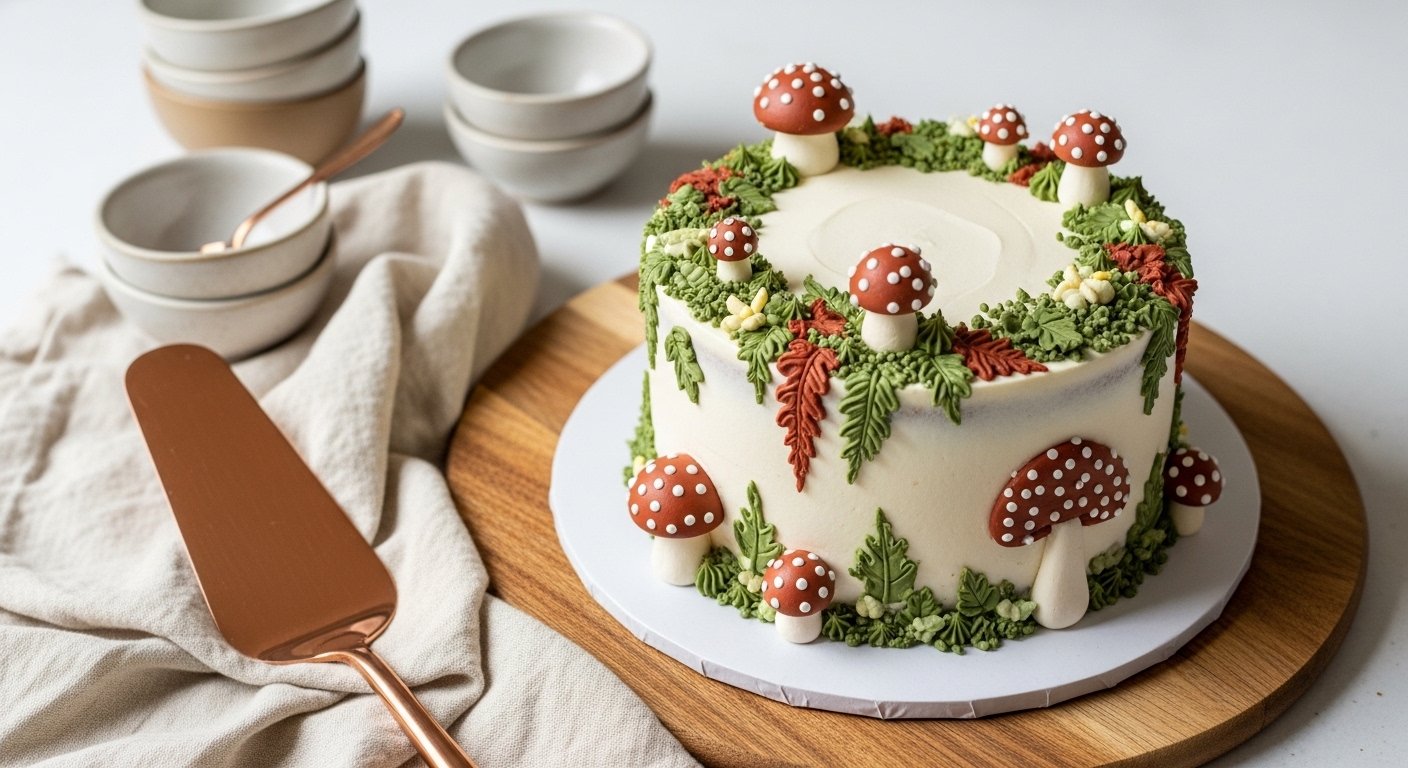
This guide shows how to turn a frosted cake into a woodland scene full of mushroom caps, speckles, and tiny leaves. You’ll get visual cues for size, texture, and timing so the decorations look professional but stay beginner-friendly.
Step-By-Step Guide
Plan Your Layout
Start by deciding how many mushrooms and where to place them. Sketch a simple arrangement on paper or mark with light frosting dots—clusters look natural and one or two single toadstools add interest. Visual planning prevents overcrowding and makes the finishing step faster.
Think in sizes: 3–5 small mushrooms (1–1.5 in caps) and 1–2 medium (2–3 in caps). This balance reads whimsical and intentional.
Create a Smooth Base
Chill your baked cake for 20–30 minutes after a crumb coat, then apply a final thin layer of buttercream or ganache with an offset spatula. Work at room temperature (65–72°F) and use long, even strokes. Smooth edges with a bench scraper for crisp sides—cold cake and warm hands are key.
A smooth base makes the mushroom details pop and gives you a clean surface to attach elements.
Make Mushroom Caps and Stems
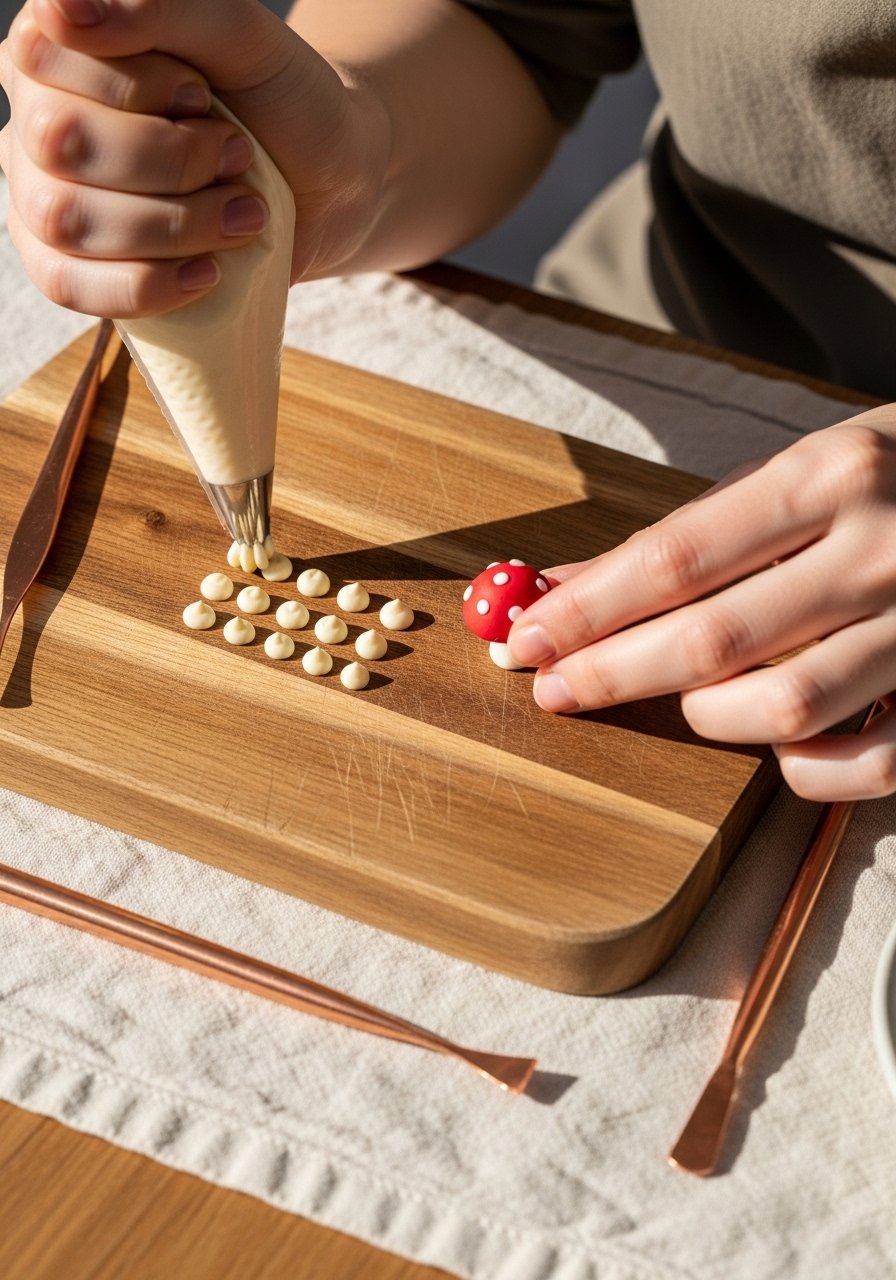
Use fondant or modeling chocolate to shape caps and stems. Roll small balls for caps and flatten into domes, then thin one edge slightly for realistic overhang. For stems, roll short cylinders with a slight taper. Allow pieces to firm for 10–20 minutes at room temp so they hold shape.
If you prefer buttercream mushrooms, pipe a tight dome with a 1M or round tip and chill briefly to set. A small skewer can anchor caps into the cake.
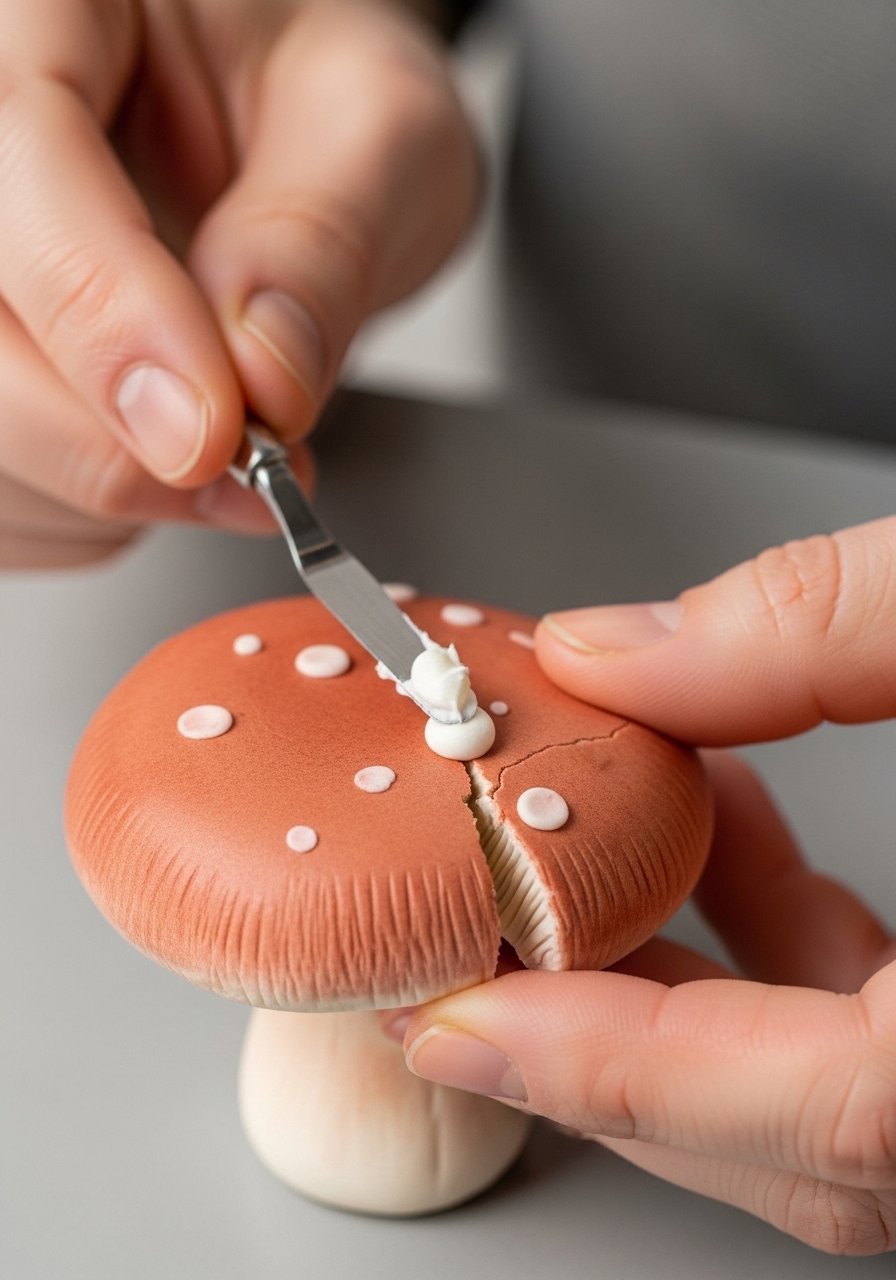
Paint Speckles and Color Caps
Mix gel food color with a drop of clear alcohol or lemon extract for paint. Use a small food-safe brush to dot and streak caps—leave some unpainted for variety. For spattered texture, flick diluted color with a toothbrush for tiny speckles. Work in 10–15 minute bursts so colors dry between layers.
For deeper tones, layer light-to-dark—this creates depth without heavy mess.
Add Ground Details and Final Touches
Pipe tiny grass tufts with a grass tip or press small fondant leaves around mushroom bases. Dust edges with edible gold or cocoa for depth using an angled brush. Anchor heavier fondant pieces with a dab of buttercream. Chill 15–20 minutes before transporting.
These small choices—tufts, crumbs, and dust—turn simple mushrooms into a cohesive woodland vignette.
Easy Whimsical Details to Add
- Mini speckled mushrooms: Make caps 1–1.5 inches and add 3–5 white speckles each for a playful look.
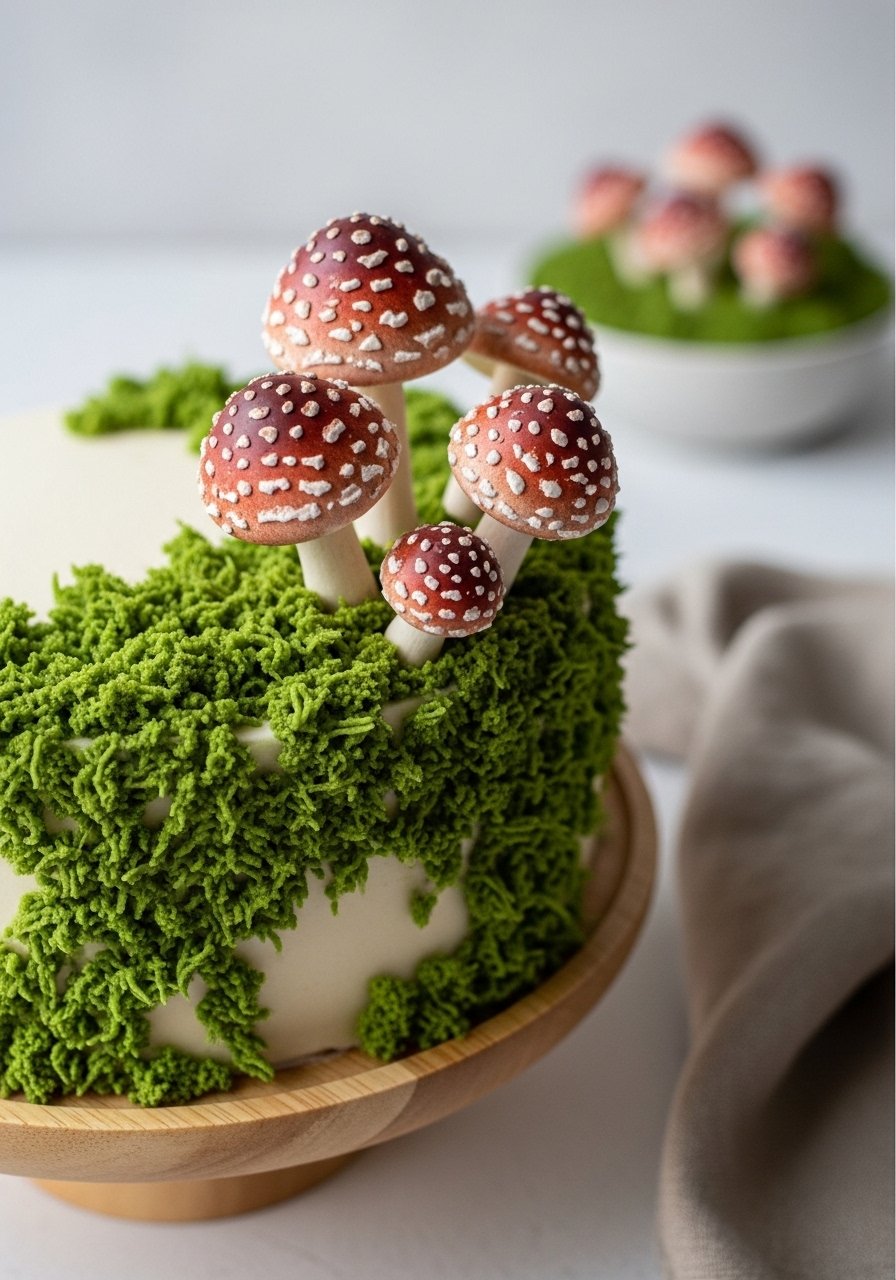
- Toadstool cluster: Group a large cap with two smaller ones at different heights to mimic natural growth.
- Leaf and moss accents: Roll thin fondant leaves or pipe buttercream moss in varying greens to frame mushrooms.
- Tiny critter accents: Add a fondant ladybug or snail for extra charm; keep them under ¾ inch so they don’t overpower the scene.
Tools & Materials I Recommend
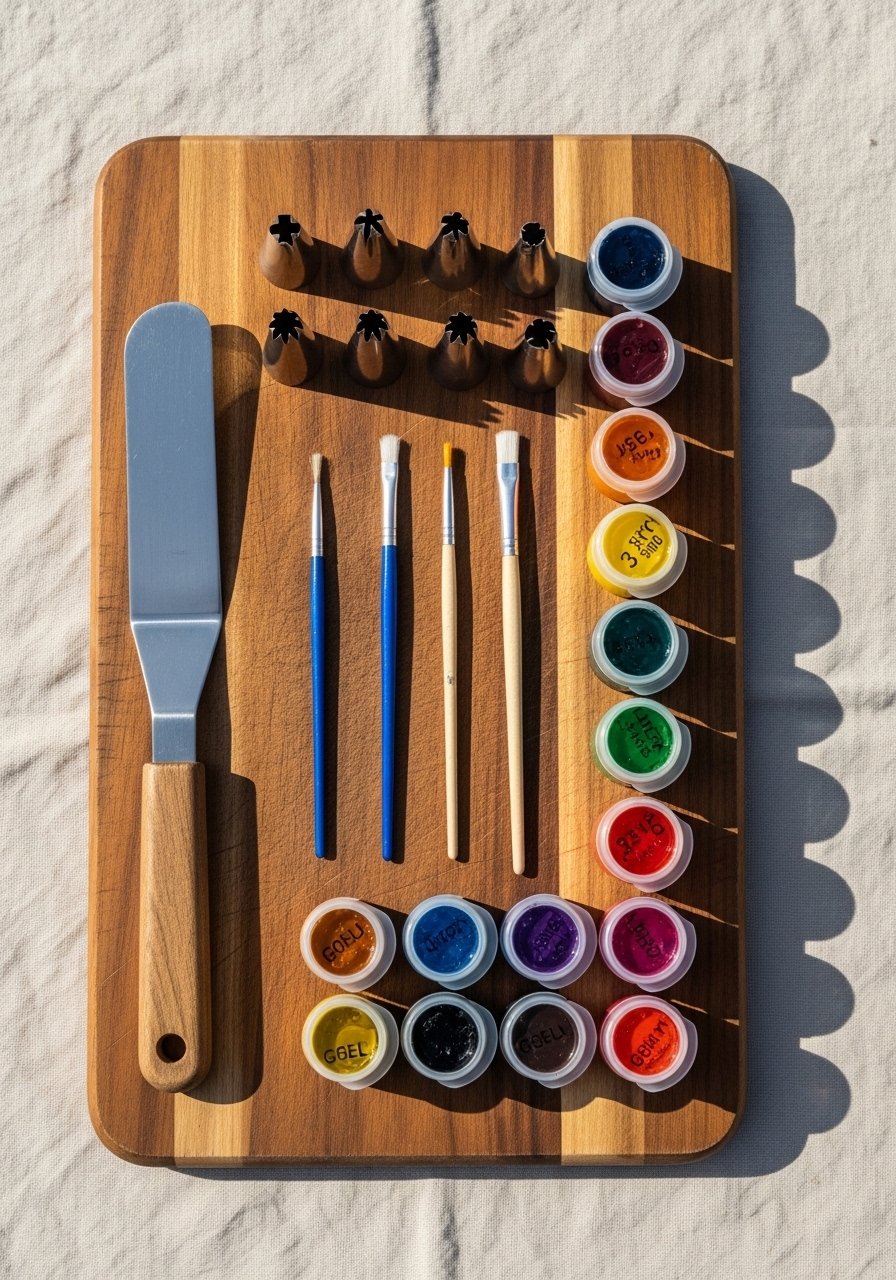
- Offset Spatula — for smooth icing and lifting fondant pieces.
- Piping Tip Set — includes grass and round tips for tufts and dots.
- Gel Food Colors — concentrated, vivid colors for painting caps.
- Fondant Modeling Tools — handy for shaping tiny mushrooms and leaves.
Arrange tools neatly on a wooden board with a cream linen; it speeds work and keeps your visuals consistent.
Troubleshooting Common Decorating Issues
If caps flatten: chill the pieces until firm and remount with a toothpick or dab of buttercream. For bleeding colors, let painted details dry fully between layers or seal fondant with a thin brush of clear alcohol before painting. If buttercream looks textured, use a warm metal spatula held at a 45° angle to re-smooth.
Work in short sessions. Small pauses let materials set and reduce frustration.
Final Thoughts
Decorating a mushroom cake is mostly about simple shapes, balanced placement, and small surface details. You don’t need perfect sculpting—tiny, confident marks read charmingly.
Take your time with placement, use a chilled cake for stability, and enjoy the whimsical results you can achieve with a few thoughtful tools.
Leave a Reply